Most RECENT is replacement of both original Yanmar 4JH4E 54 HP engines, with 4JH5E 54 HP engines.
 |
| Old engine out, new engine going in by Moore Marine at Boatworks, Coomera. |

In November 2018, we replaced the original Yanmar SD50 sail drives with Yanmar SD60 sail drives. The SD50 sail drives were progressively less reliable, necessitating regular lapping of the cone clutches and completely eroding our confidence in them. The Yanmar SD60 uses a plate clutch system that doesn't require regular maintenance and uses the same oil as the engine.

ENGINES
We have also done extensive maintenance and refurbishment of both engines, including:
New alternators
Starter motors
Engine mounts
Cooling water exhaust bend elbows
Heat exchangers
Diesel injection pump (starboard engine)
Electric fuel pumps added
Fuel injectors serviced or replaced
Oil seals
Starter batteries
FISH-FINDER/DEPTH SOUNDER installed in port hull, to enable depth sounding from both hulls and identification of shy whales.

ELECTRICAL
NEW TRANSFORMER: From RV Transformers UK (http://www.rvtransformers.com/).
240 - 110 volts, 50 - 60 Hz

1000 WATT INVERTER to supply new 240 V outlets (side-by-side with 110 V outlets).


5 NEW LIFELINE 210 AH BATTERIES

ENERDRIVE BATTERY MONITOR
RIGGING
by David Lambourne (http://www.dlyrigging.com.au/)
All side stays and halyards replaced, mainsail track extended, pulleys replaced.
MOULDED BOWSPRIT
The bowsprit folds up when not in use.


 NEW SAILS
Screacher and Mainsail by EVOLUTION SAILS (http://www.evolutionsails.com)

NEW GENOA FURLER

BOOM EXTENSION

The "cradle" projects either side of the boom, allowing the mainsail to flake more easily.


RAYMARINE 48 NM RADAR AND SPREADER CAMERAS


New Raymarine Chartplotter at Nav Station

OLD PROPS REPLACED


Loose, pitted, fixed props replaced with stainless Slipstream folding props from Seahawk (http://www.seahawk.com.au). Damage to sail-drive leg from application of copper antifouling paint ground away and all painted with the Propspeed system (www.propspeed.com).


DAMAGED RUDDER REPAIRED
The starboard rudder had come loose from its inner frame, and the frame's bars were not welded to its stem, causing a loud knocking sound when at anchor. The side of the rudder was cut away, allowing the frame to be welded back together, and then secured to the rest of the rudder by re-glassing (thank you to Roger from Lightwave Yachts (www.lightwaveyachts.com.au).

NEW JP3 RUDDER BEARINGS
The old bearings were corroded and fused, and the inner bearing balls were no longer moving.

External view; you can see the cracked bearing ball. A special tool was required to remove the bearing from the hull.


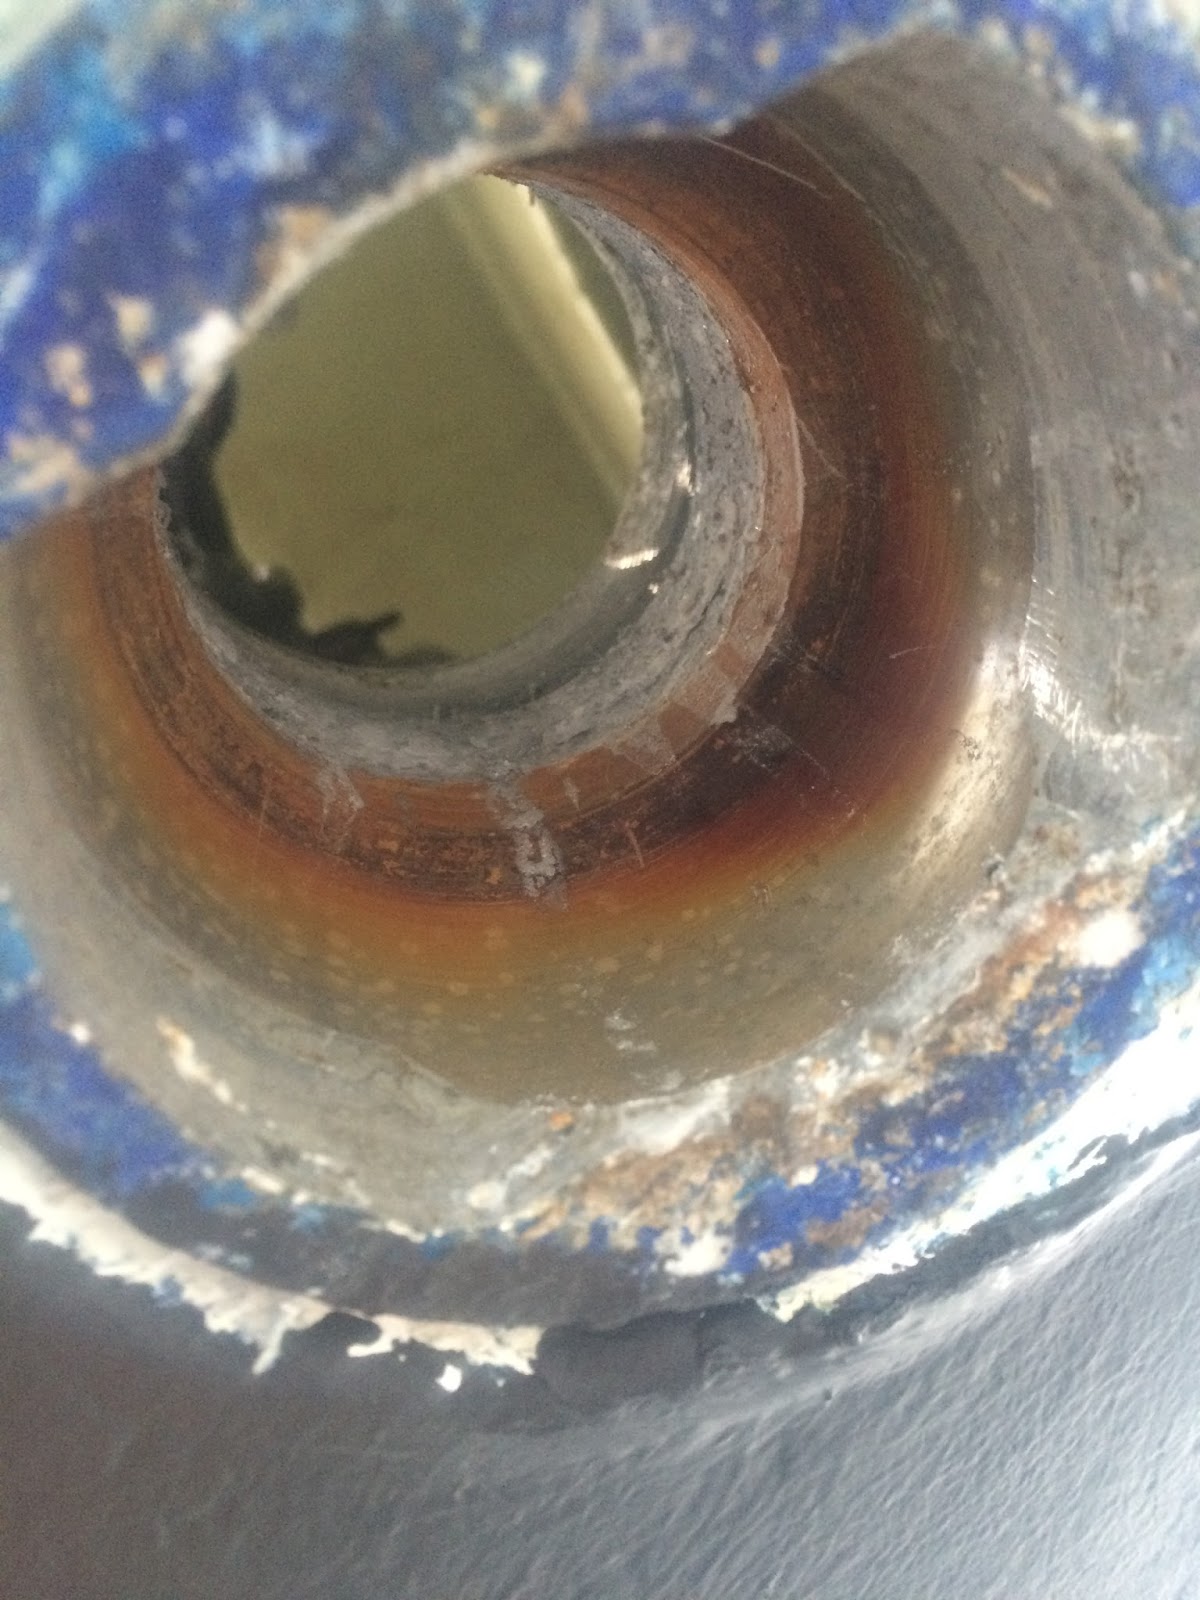
The bearing has been completely removed.
Replacement Delrin bearing balls and lip seals were ordered from International Boat Spares (www.internationalboatspares.com) in France.

The replacement bearings themselves were machined in bronze by P&W Marine Engineers (www.pwmarine.com.au).
CRACKED DELRIN WASHER REPLACED WITH ALUMINIUM

NEW LADDER TO ACCESS HELM STATION

The helm seat was remodelled and a stainless steel ladder built to allow access to the helm seat from within the cockpit. The ladder can be removed to get to the fridge compartment. A new Travelmate fridge/freezer was also installed.

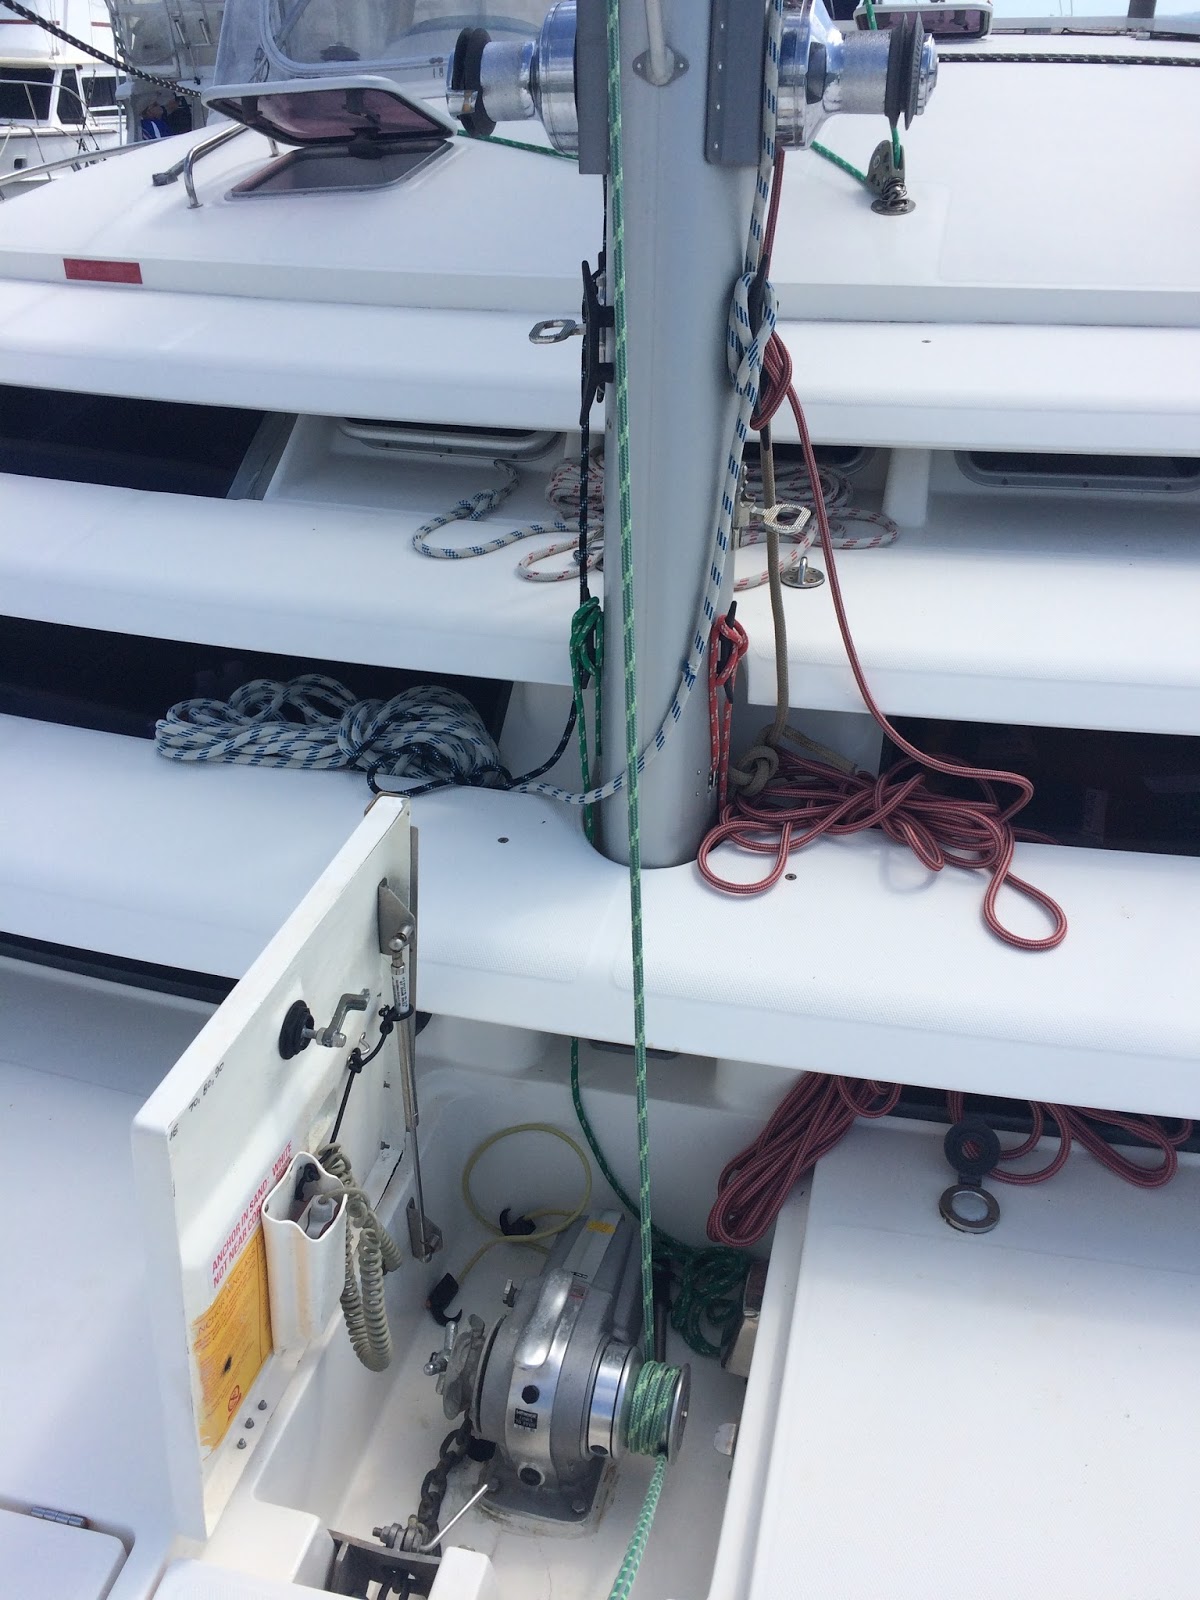
NEW ROCNA ANCHOR AND LOFRANS TIGRESS WINDLASS


This old plough anchor (which dragged repeatedly) was replaced with a 39 kg Rocna. The Hector windlass (with refurbished gipsy) was replaced with a Lofrans Tigress windlass with capstan, which can now be used to hoist the mainsail (or bosun's chair) and furl the Screacher.


Addition of Whiskers at the front to attach the new bowsprit necessitated construction of a new, elongated bridle (by Emmett's Ropes: http://www.emmettsropes.com.au).

New #28 winch to assist furling of the genoa when on a port tack.

Barber-haulers for better head sail trim.

TRAMPOLINE REFURBISHED
Although the Ferrari mesh has a long lifespan, the edging had been patched in several places and the lashings were showing signs of wear.


Ullman sails (www.http://ullmansails.com.) in Wynnum replaced the edging and eyelets, and turned the mesh over so the less weathered underside was now on top. It looked like new.

HOLDING TANKS REPLACED
The original holding tanks were made of aluminium and were corroded and leaking constantly.


The toilet pipes were also completely blocked at one stage, necessitating emergency measures and replacement of almost all the pipes.

We had new plastic tanks made (Custom Plastic Fabrication:
http://www.customplasticfabrication.com.au/).
George made some modifications to the original design, including inlet pipes feeding to the side of the tank, rather than in from below (to reduce the potential for leakage).


FUEL TANK CLEAN-OUT AND INSTALLATION OF INSPECTION HATCHES
Unfortunately, when we bought her, Alchemy 1 had a major problem with build up of debris and micro-organisms in both fuel tanks, leading to multiple fuel blockages. George spent many hours cleaning the fuel filters, lines and connections while at sea. It was finally time to do something definitive when we docked at Middle Harbour Yacht Club.

We found Mobile Marine Services (https://www.mobilemarineservice.com.au.) who came to our boat and installed inspection hatches.


First, they drilled three circular holes. Then inserted inspection ports that were bolted in place.


Now we could see the full extent of the problem. George then cleaned the debris out of the tanks by hand, and scrubbed the inside with exit mould. Finally, we used the access ports to polish our remaining fuel polished using a deckside filtering system invented by the owner of MMS Services.


Fingers crossed, this will be the end of our problems!
REPLACEMENT OF CRACKED FOR'ARD PORT WINDOW


The existing porthole was cleaned and re-painted, then re-inserted into the new perspex.

REPLACEMENT OF LEWMAR HATCH HANDLES IN SALOON WINDOWS


LIFE RAFT
We sold the existing 10-man liferaft, which was overdue for a service, and too big for our needs.

And we purchased a new 6-man liferaft equipped for > 24 hours offshore (MarineSafe: http://www.marinesafe.com.au/), which George fitted into a cradle attached to the deck beneath the dive seat at the back of the cockpit. Simply release the snatch strap and push it out the back.


DINGHY UPGRADES
New engine cover

New chaps, fold-down wheels, and dinghy ladder for use when snorkelling and spearfishing.


ADDITIONS OUT THE BACK
SOVEREIGN GAS BARBEQUE (www.sovereignbbqs.com).


FISH CLEANING TABLE (FISH NOT INCLUDED)

FISHING ROD HOLDERS

THE AWESOME AWNINGS!

When we purchased Alchemy 1 she was fitted with standard sun-shades, which could be pulled down on either side and at the back, but we wanted something more substantial and private. We got several (very expensive) quotes before a cruising friend put us in touch with Bill Ashtia, a very experienced marine upholsterer from Brisbane on the verge of retirement, who agreed to take on "one last job". We could not be happier with the results.


The navy blue walls can be completely rolled up, but they also have panels fitted with insect-proof mesh that can also be rolled up, or tied out to the safety lines as sunshades..


ADDING A LITTLE HOMELINESS
NEW CURTAINS
The original concertina blinds were replaced with track curtains from Southern Spirit Campervans (www.sscampervans.com).


MARINE CARPET
The fiberglass cockpit floor was a little hard, and white and we predicted it would be hard to keep clean, so we had marine carpet installed. We chose black (rather than white) piping so it would not show the dirt. A thorough vacuuming brings it back to looking new when it gets dirty.


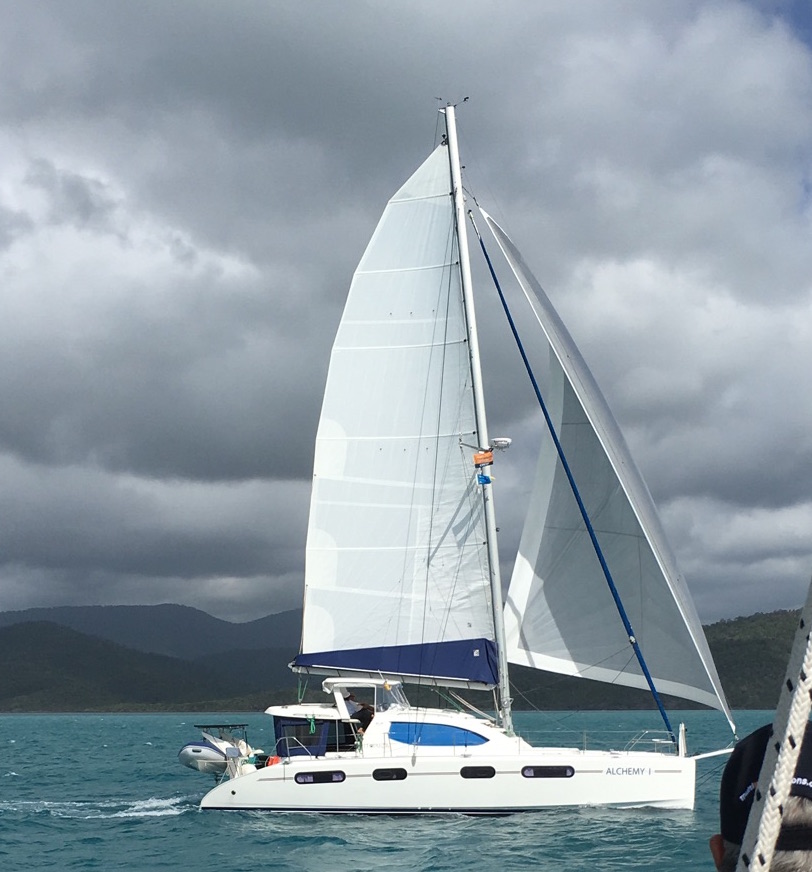
IN THE BEGINNING SHE WAS BEAUTIFUL.

BUT BY THE END SHE WAS MAGNIFICENT!

No comments:
Post a Comment